Testing a 3D Printed Prototype: Fit, Function and Strength
How to check a prototype before it goes into production
A prototype is only useful if it is tested properly. Printing a part that looks right is the easy bit; finding out whether it fits, works and survives real use is what turns an idea into a product that is ready for manufacture. 3D printing makes that testing far quicker and cheaper than it used to be, because each new version can be printed in days rather than waiting weeks for tooling.
Three kinds of test
Fit
Does the part fit the things it has to work with? Check it against mating parts, fixings, housings and the hands of the people who will use it. Clips, hinges and holes are where most first prototypes need adjusting.
Function
Does it do its job? Open it, close it, load it and use it the way a customer would. A prototype that works on the bench can still fail when it is used quickly, carelessly or in the cold.
Strength and durability
Where safety or reliability matters, some prototypes need to be tested until they break. Destructive testing shows where a design is weakest and how much margin it has above its working load.
Print several versions at once
One of the biggest advantages of 3D printing is that several prototypes can be produced in a single run. You can print identical copies to test side by side, including some to break, or print slightly different versions to compare wall thicknesses, clearances or shapes. A Nottingham rapid prototyping company can advise on how many versions to print and which materials suit each test.
Choosing a material for testing
- PLA: quick and economical, ideal for checking shape, size and fit
- ABS: tougher and more heat-resistant, better for functional parts
- Carbon fibre composites: stiff and strong, suited to jigs, brackets and parts under load
- Resins: fine detail and smooth surfaces for small, intricate parts
Test in a material close to the one you will use in production wherever possible, especially for strength testing, as results in a weaker material can be misleading.
Feed the results back into the design
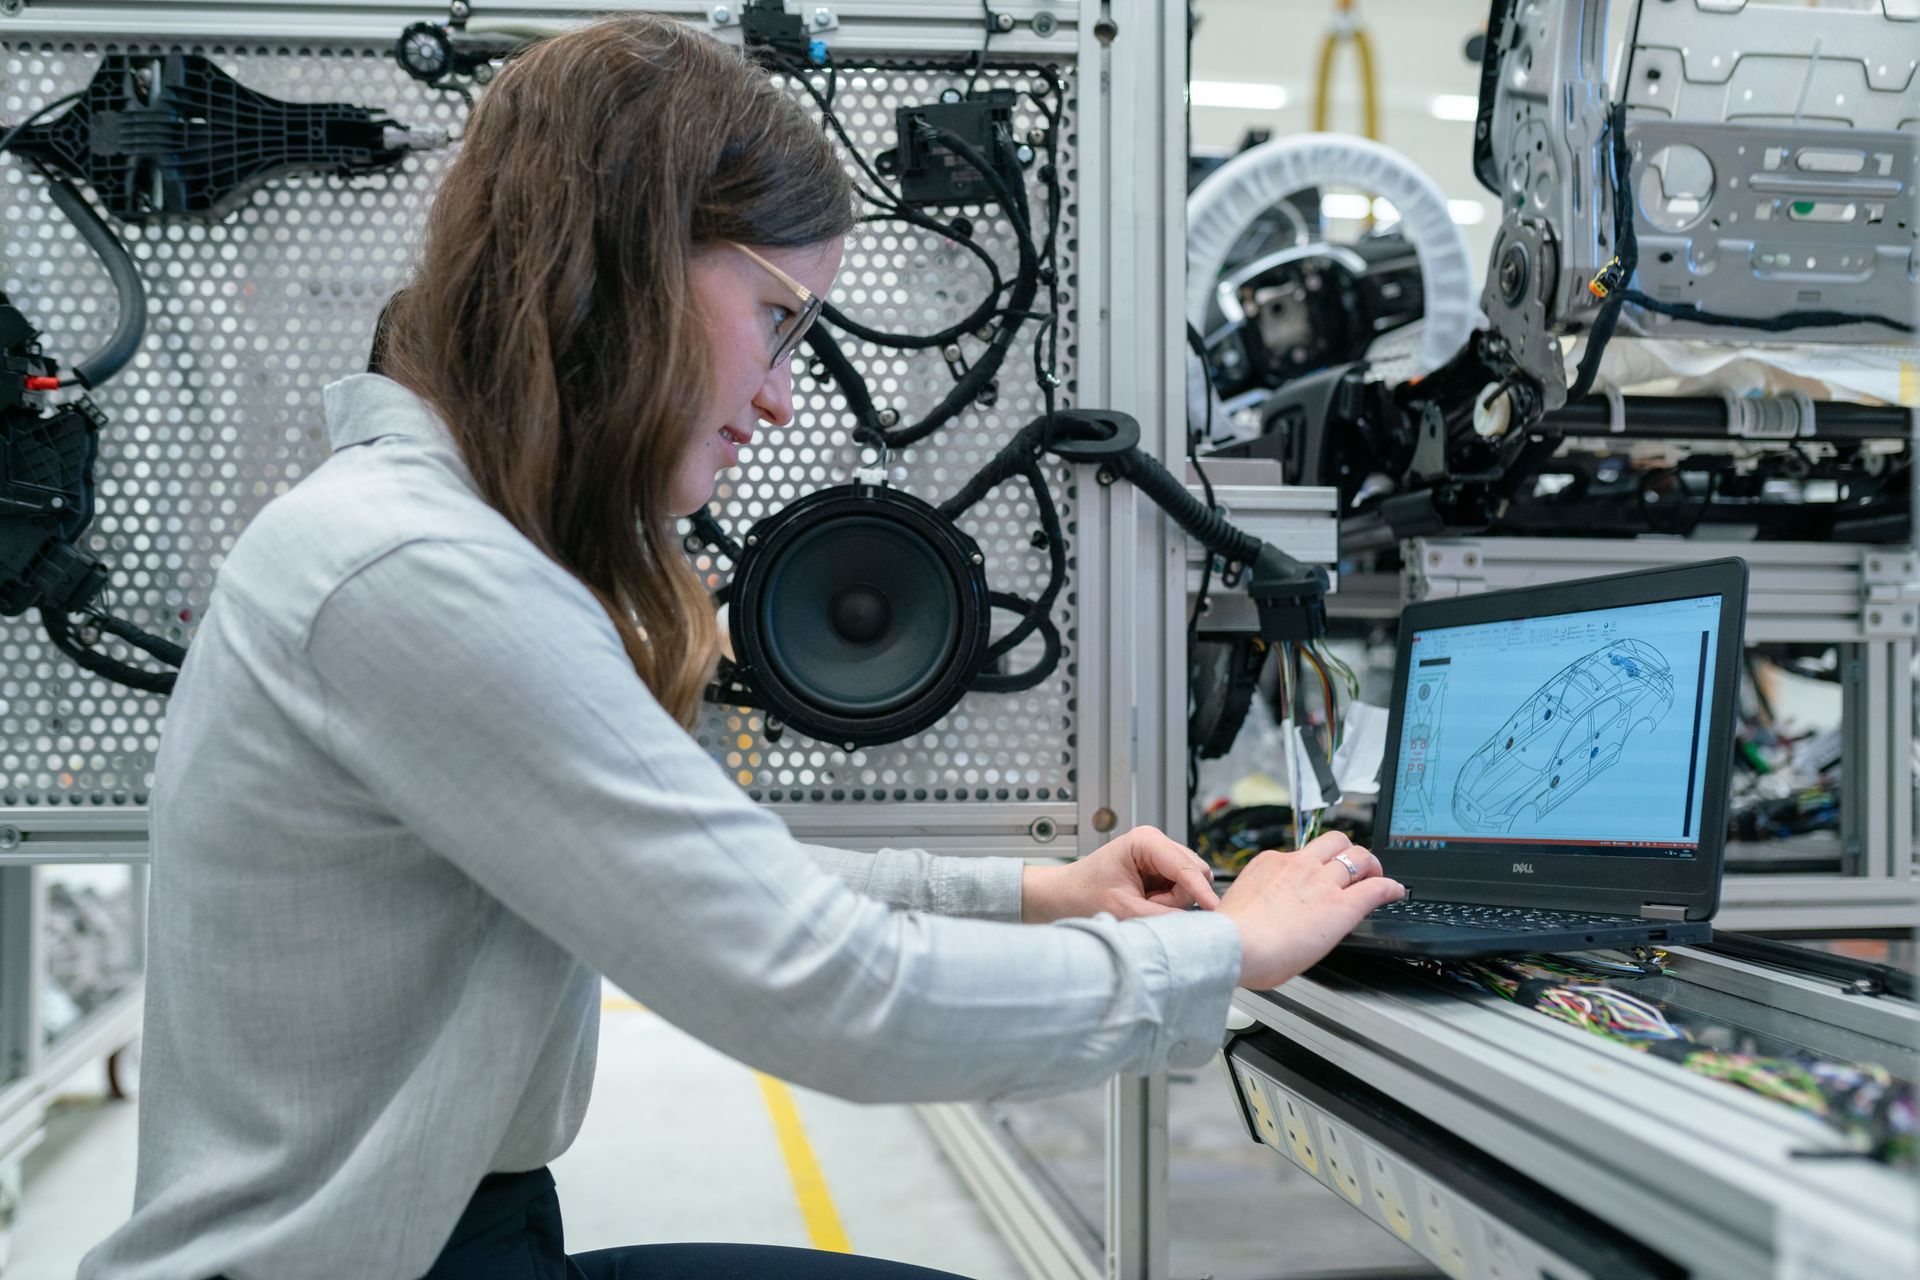
Every test should lead to a clear list of changes. Keeping the CAD model up to date after each round means the next prototype builds on what you have learned. If you started from a sketch, a drawing or an existing part, 3D CAD design from an experienced team can turn your notes and measurements into an accurate model and update it as testing goes on.
Know when to stop
Simple parts may be right after one or two rounds, while complex products can take several. Once the prototype passes its fit, function and strength tests, it is ready to move towards production, whether that means a short run of printed parts or tooling for injection moulding.
Careful testing at prototype stage is far cheaper than fixing a problem after manufacture. For more on new technology and turning ideas into products, see our business innovation category.
Ready to work with Lexsee Business Directory?
Let's connect! We’re here to help.
Send us a message and we’ll be in touch.
Agency Contact Form
More Business Tips, Tricks & Tools
Lexee Blog